
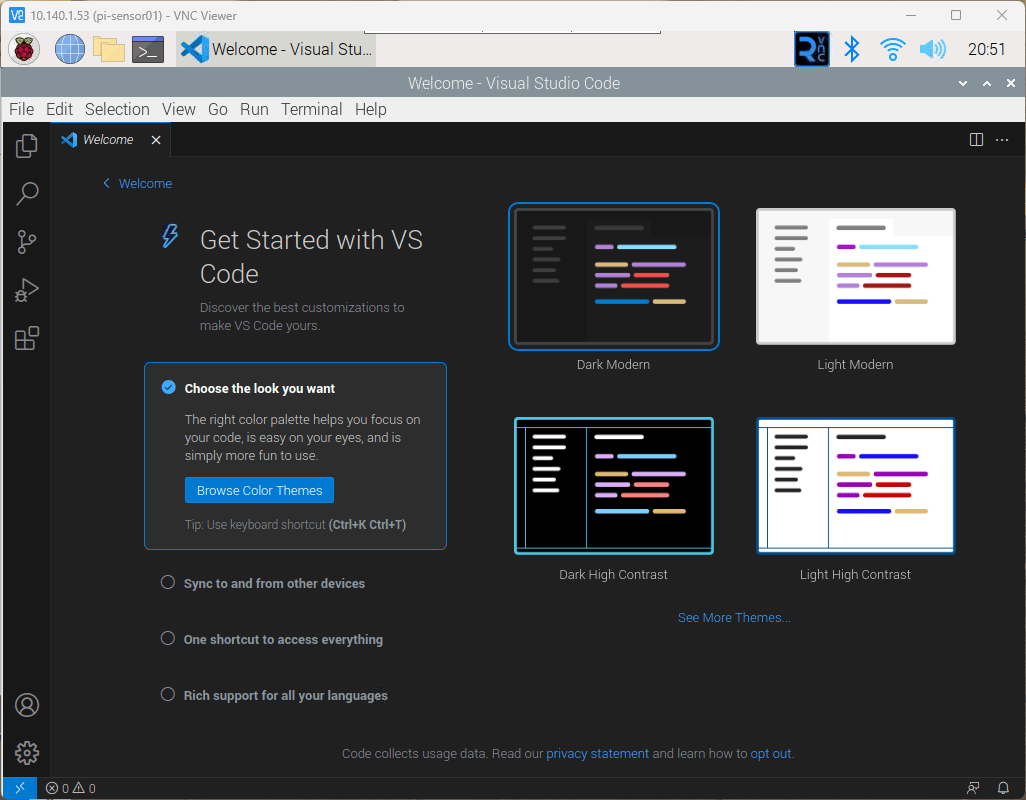
In Part I, we installed the Raspberry Pi OS and connected to the Raspberry Pi using PuTTY and VNC from another PC. In Part II, we will install Visual Code on the Raspberry Pi to allow us to code directly on the Raspberry Pi using a modern IDE.
It is not required to install Visual Studio Code. There are several options for writing programs and running them on the Raspberry Pi. It is possible to simply use the Text Editor on the desktop, Nano or VI from the terminal, or use an editor on the PC and transfer files using WinSCP.
Installing Visual Studio Code
The first thing to note is that the Chromium web browser is not going to work well on older Raspberry Pi boards. I am using a Raspberry Pi 3, so it is necessary to open a terminal and run the following command to launch the Dillo web browser:
dillo
Once the browser is open, navigate to https://code.visualstudio.com/download.

Clicking on the .deb Arm32 link does nothing as the link is using JavaScript to download the correct file. We will need to get the installation package from our PC and move it to the Raspberry Pi.
On the PC, navigate to https://code.visualstudio.com/download and click the .deb Arm32 link to download the installation package. Save it to a known location and remember where you saved it.
Open WinSCP and connect to the Raspberry Pi.

If it is the first time connecting to the Raspberry Pi, you will see a Warning dialog. Click “Yes” to continue.

Once connected, in the right pane of the WinSCP application, navigate to the desktop folder on the Raspberry Pi and in the left pane, navigate to the location of Visual Studio Code installation package on your PC. Once the locations have been selected, you may click and drag the installation package from the PC to the Raspberry Pi.

Once the package has been transferred, switch to VNC Viewer and you will see the file on your desktop.

Right-click on the installation package and select “Package Install” from the context menu.

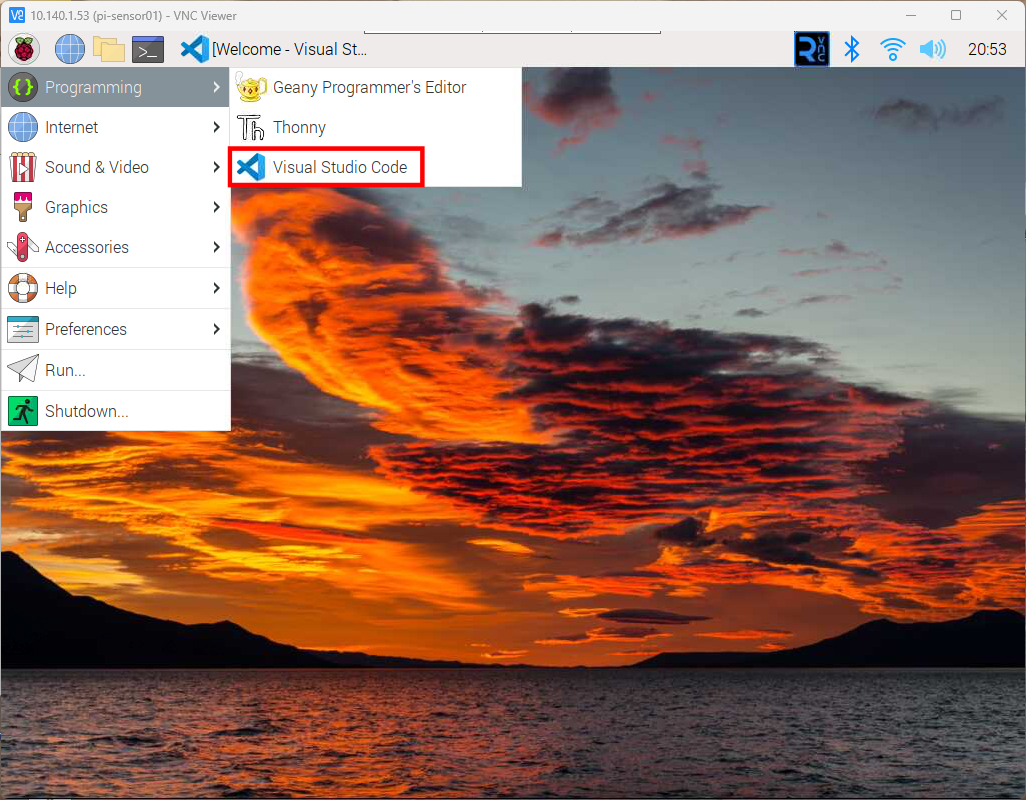
Once the installation completes, you may launch Visual Studio Code from the menu by navigating to Programming > Visual Studio Code.
NOTE: You may delete the Visual Studio Code installer from the desktop if you wish.
I like to use the Explorer, the top icon on the left toolbar, to open a folder. From there, I may create files and folders for the project. In the screenshot below, I have created a folder named “Test” in my home folder and added a file named “test.py”. Once I created the file, Visual Studio Code recognized that I created a Python file and prompted me to install the Python language extension.
