
I’ve had a busy week fixing items that have broken or that I bought on eBay that were for parts only.
Air Fryer

The Air Fryer, that we purchased on Amazon in March 2021 broke after 1 year and 10 months of service. At first, it would not shut off when the handle was lifted but after bumping it once, it shut off an would not come back on. I tool it apart to see if it could be repaired and found that the microswitch that turns the unit on when the handle is moved, failed. I was able to order a new one and replace it. It is working once again. Hopefully it will last a bit longer this time.
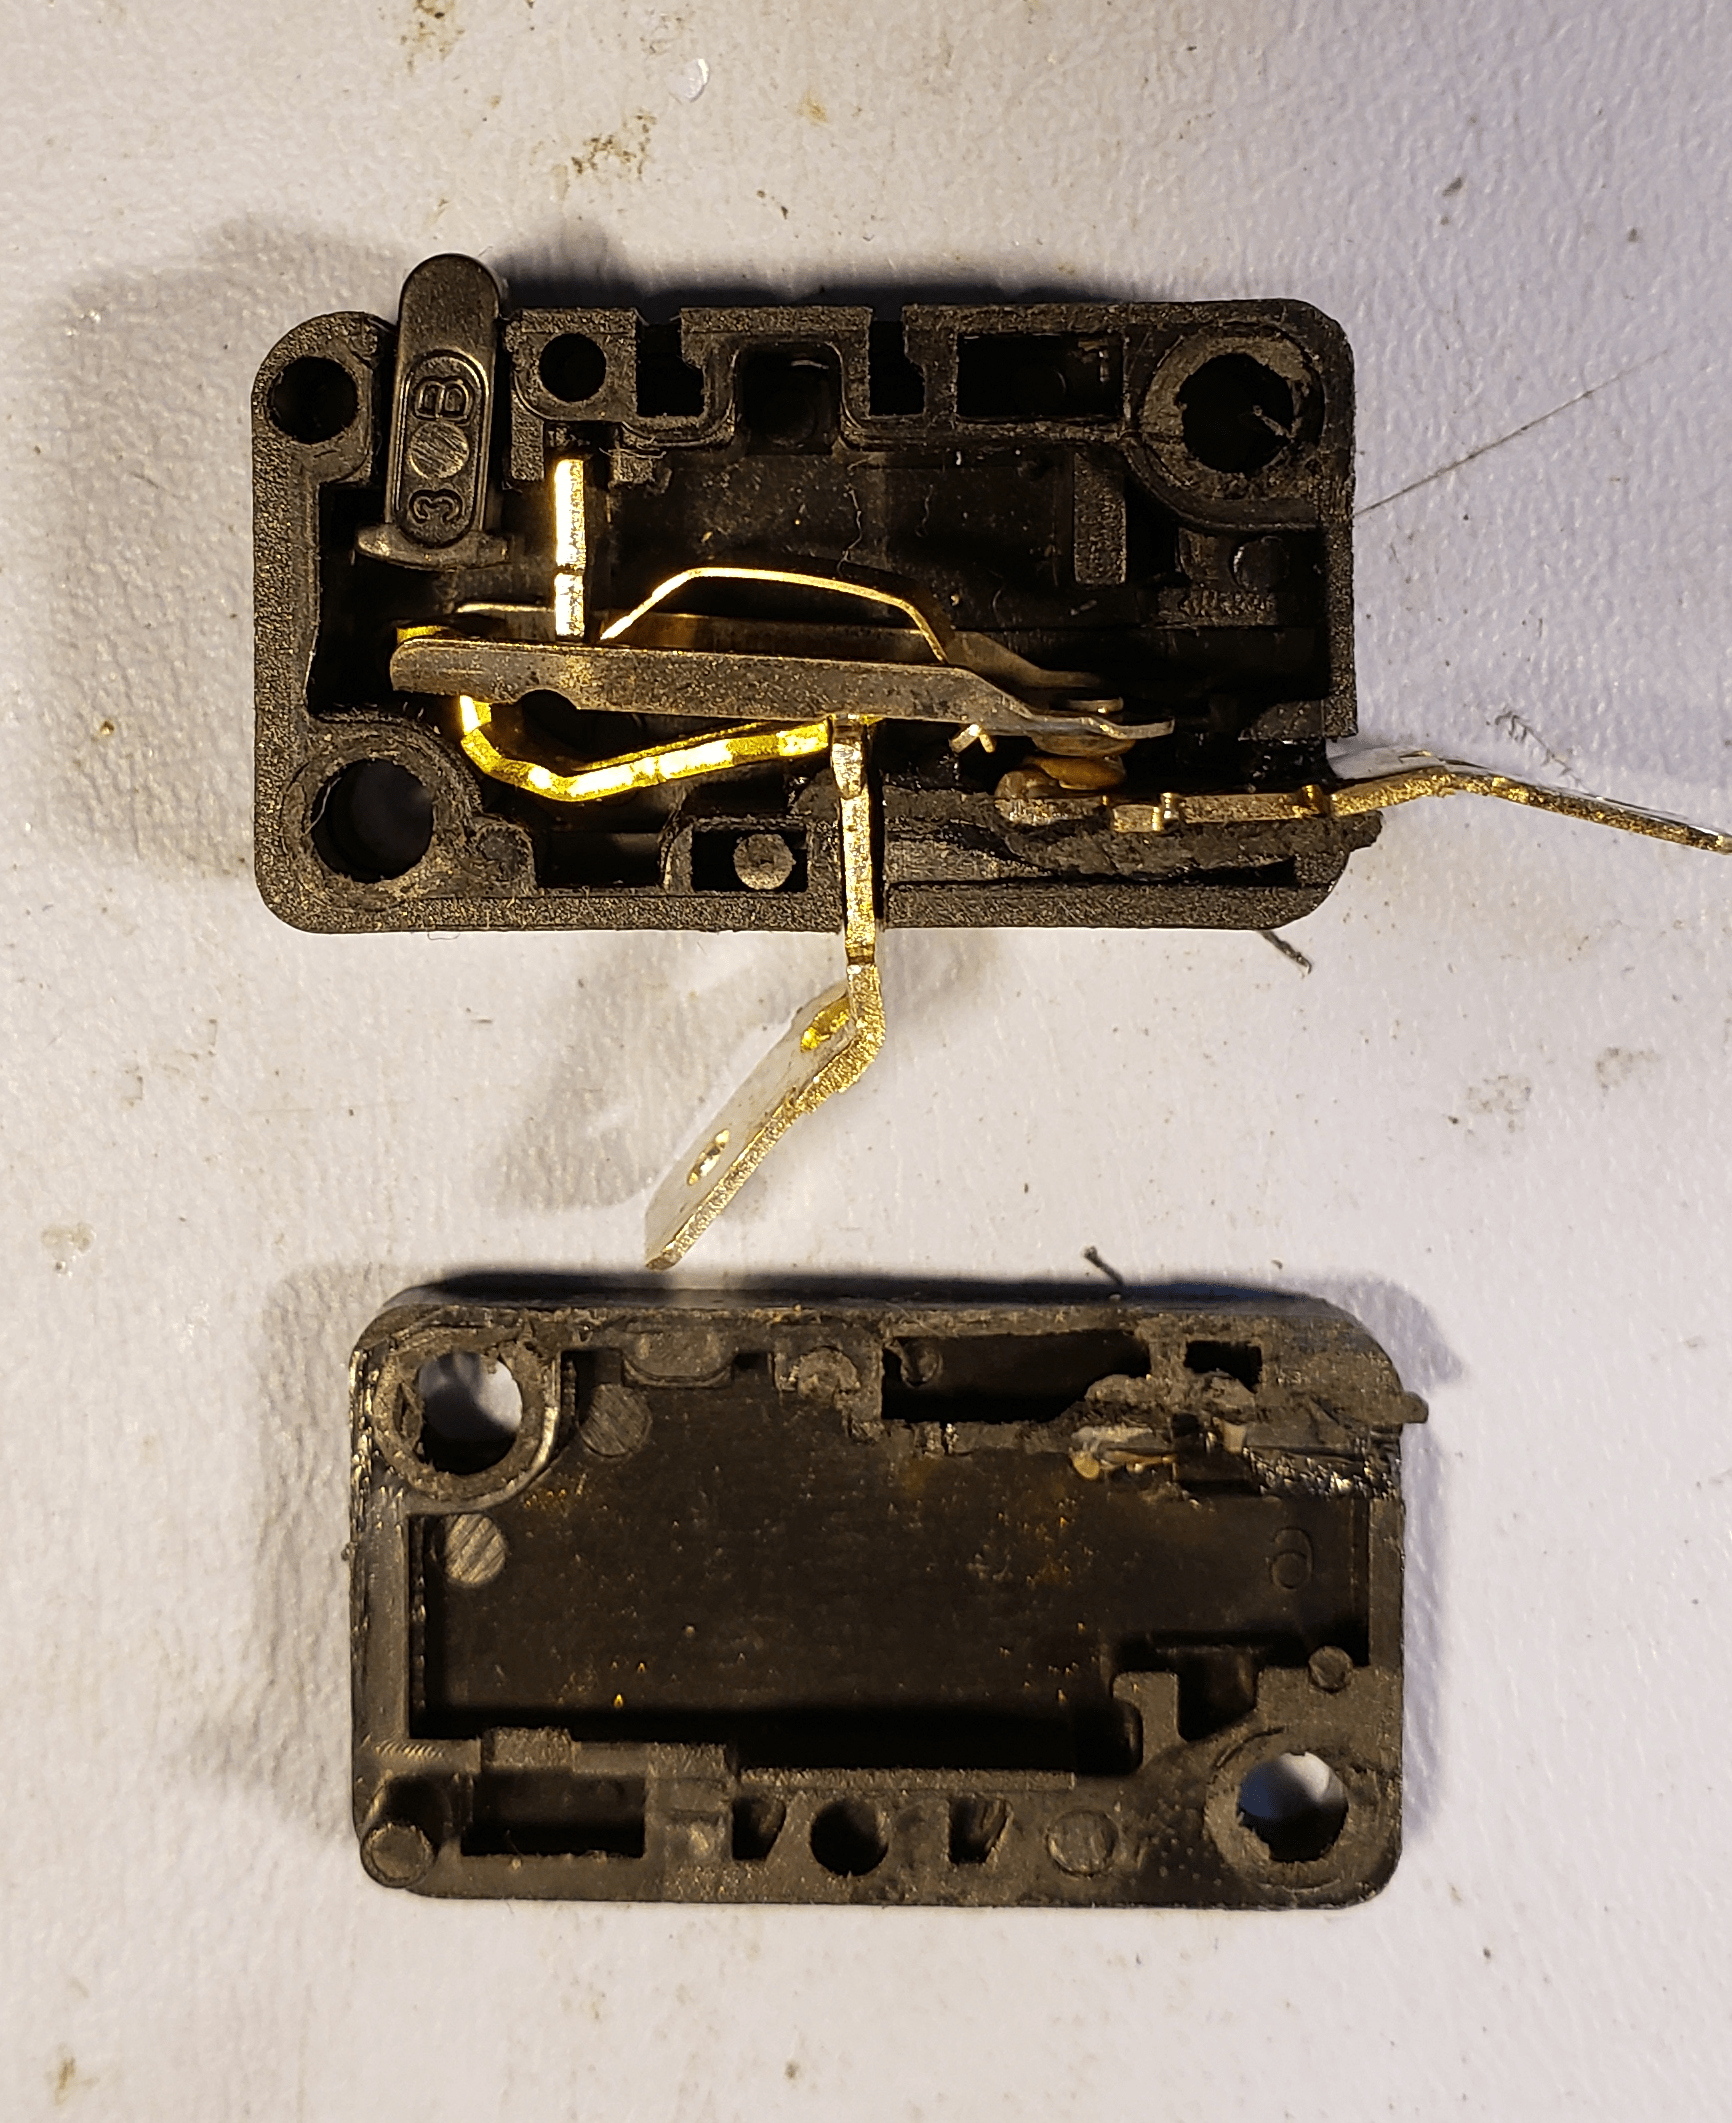
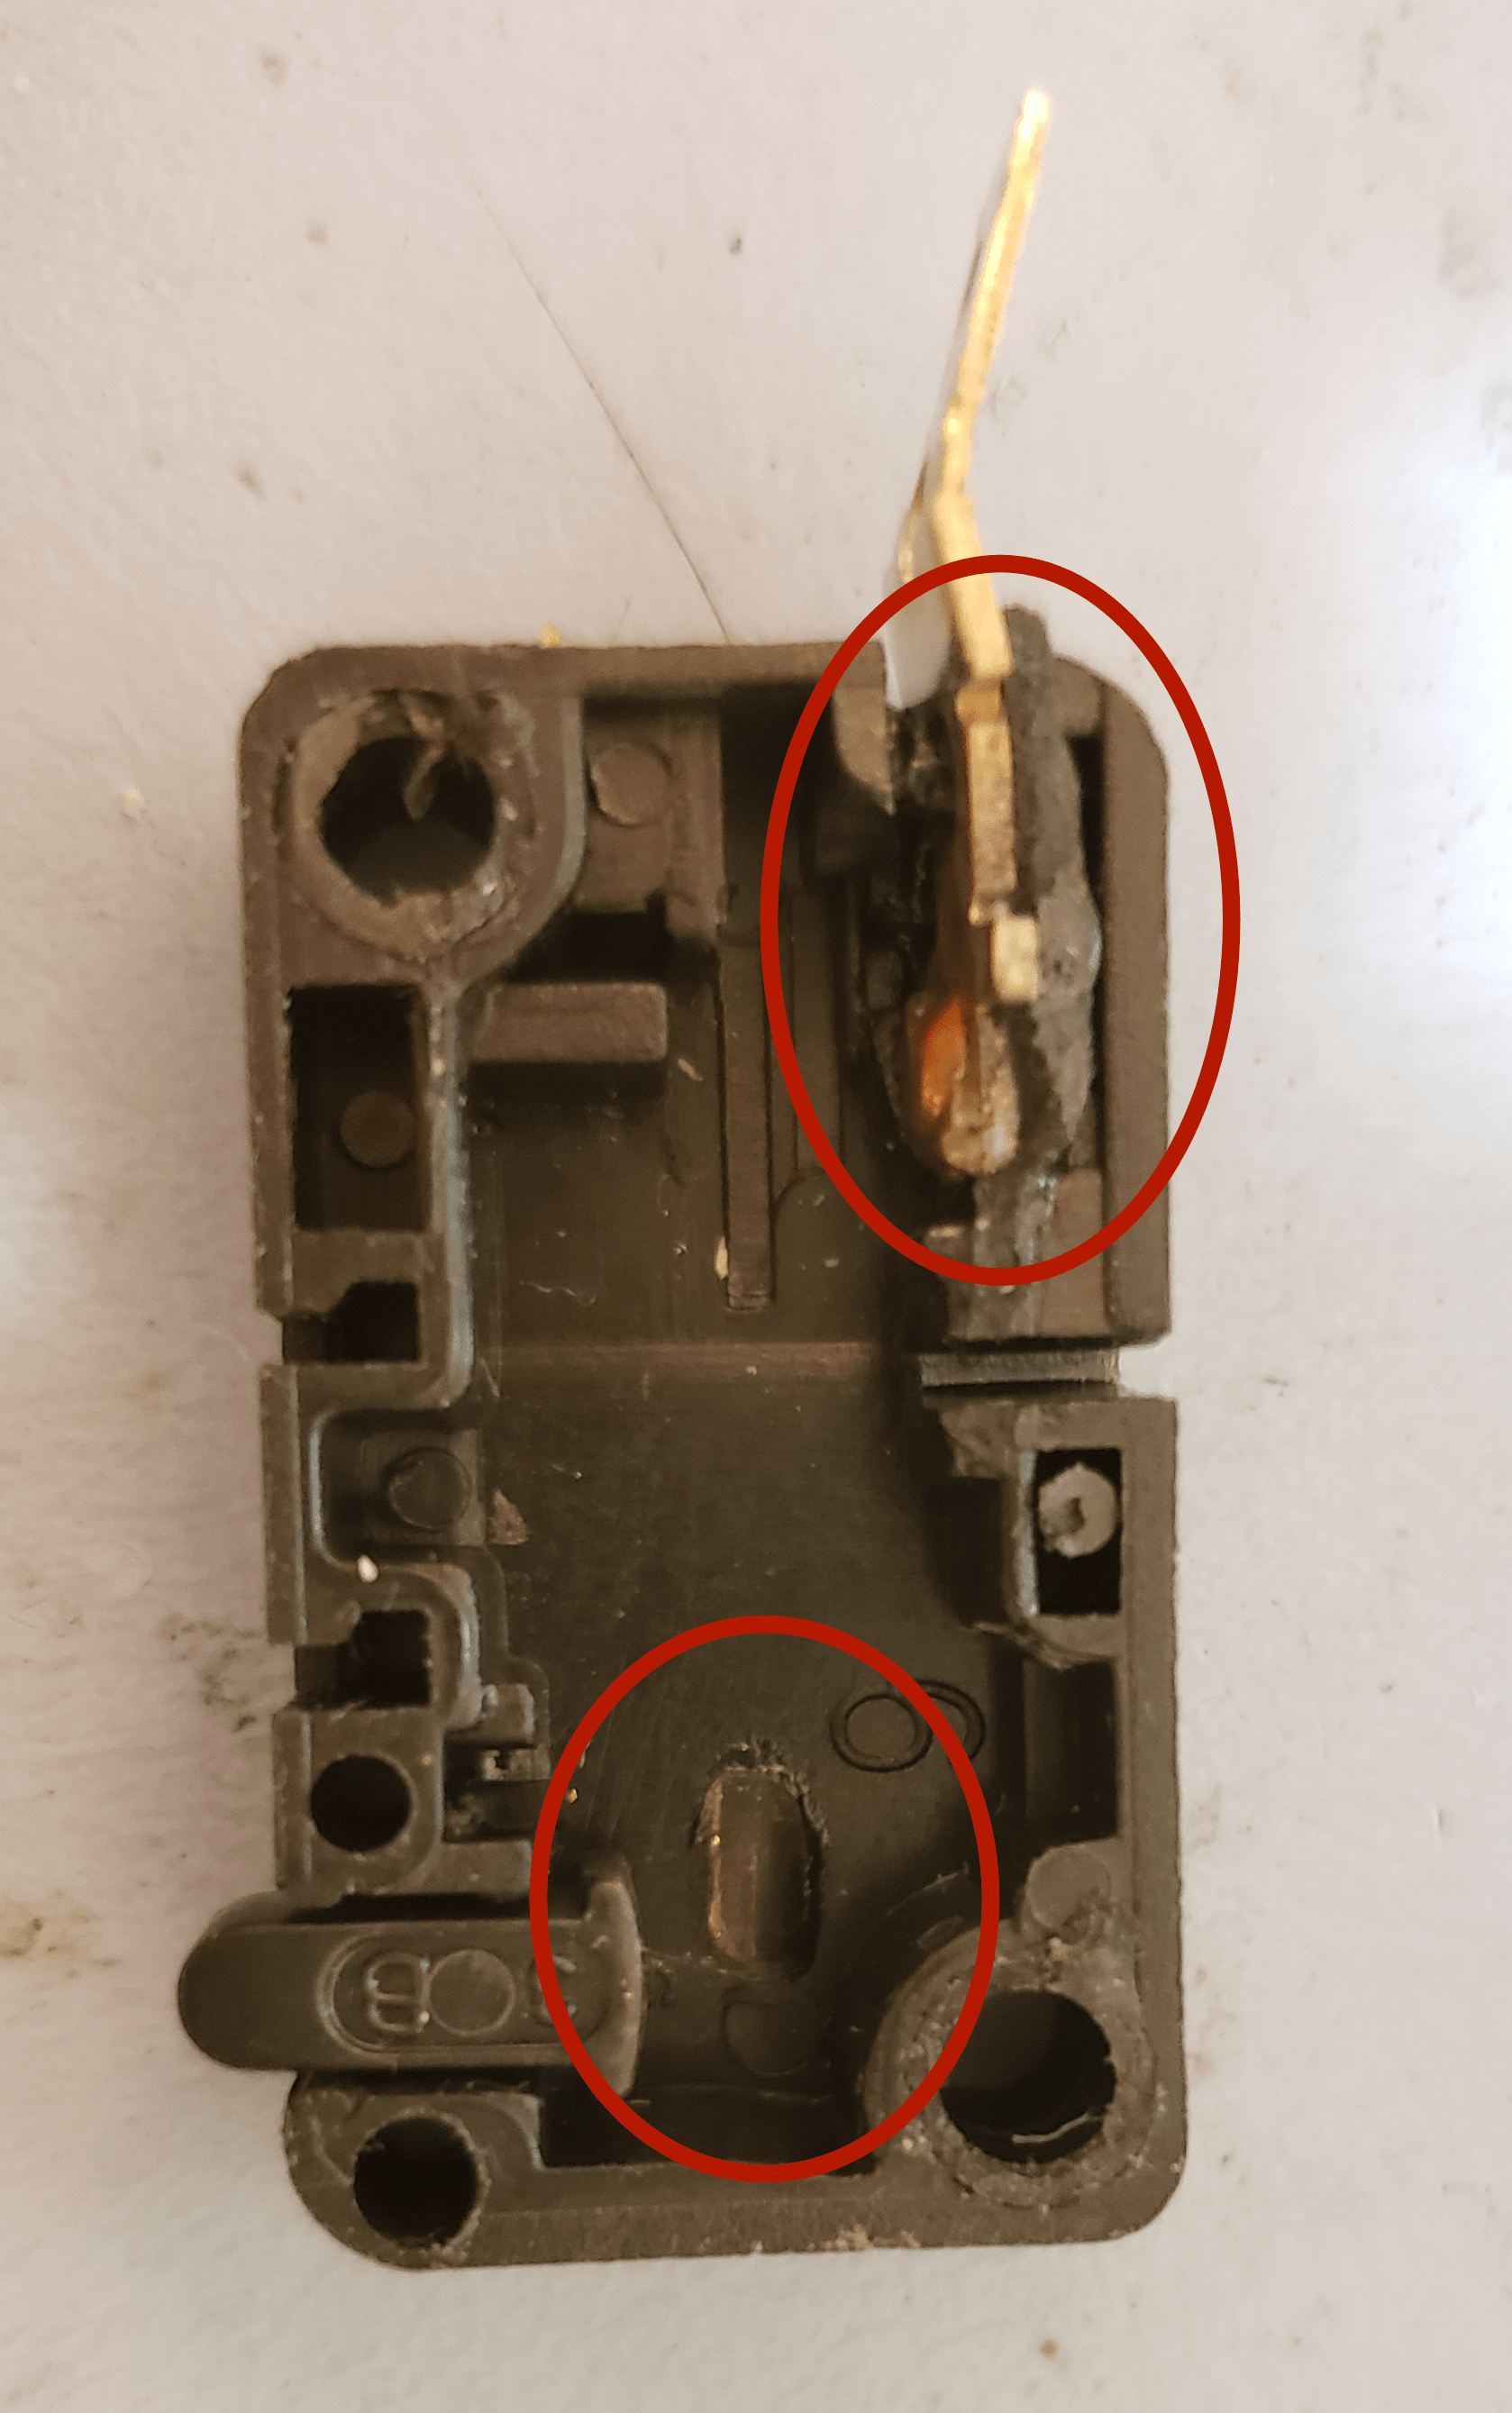
Curiosity got the best of me and I cracked open the microswitch to see how it failed as the failure seemed odd. The plunger on the switch was loose and I was not expecting that from a failed microswitch. Once it was cracked open, I could see that apparently the contacts had welded shut and created a lot of heat, which melted the plastic. It was a combination of these things that made it fail the way it did.
If interested, here are the links to the Amazon product pages for the Air Fryer and the replacement switch.
- Wisfor Infrared Halogen Oven Chicken Turbo Cooker Oven Large 17 Quart for Healthy Meals Fries Chips with 11 Accessories
- KW7-0 2Pins 16A 125V/250VAC 1NO Electric Microswitch Micro Switches for Microwave Oven Welding Gun Induction Cooker, 6-Pack
eBay purchases of Psion PDAs for parts

I have an obsession for the old Psion PDAs and have an unhealthy collection of them. Lately I made a purchase of a lot with four defective Psion devices. The idea is if I can’t fix them, I should at least be able to repurpose the keyboard for some future project. (I’m also doing the same with the HP 95lx devices.)
Diamond Mako Revos
The lot of four Psion devices now has three functional units. I first worked on the Diamond Mako Revo devices. One unit was disassembled and the other one worked but needed to be plugged in as it no longer held a charge. I took to Amazon and purchased 4 Ni-MH AAA batteries with solder tabs. I was able to get both units working by replacing the batteries. I did have to use some hot glue to reenforce the lower pins holding the back cover in place. They seem to be brittle on both sides. A bit of carefully placed hot glue seemed to be enough to hold them in place.

I had another issue with the devices. At first, they did not seem to want to stay powered on even though they were plugged into the power supply. I could not figure out why the units would not stay on, so I started looking at them very carefully. I had discovered that the negative terminal in the battery connector had bent over and was touching the temperature sensor pin. It was not easy but I was able to straighten the pin and pulled the wire from the plug to make certain that it was fine. I carefully plugged the battery back in and they worked as expected.
What made this easier to figure out what was going on was by using the test points on the board. I was able to tell that the negative voltage was not where it should be, which led me to look closely at the plug and jack for the battery connection.

David Savery’s post from 2004, on R3UK titled, Psion Revo/Diamond Mako Disassembly & Battery Replacement, was a big help in replacing the batteries in the Revos.

Below is the link to the batteries on Amazon.
Psion 5MX
The Psion 5MX and the Erickson MC 218, both had broken display cables, which is a common failure for Psion 5MX devices. I was able to order some replacement cables from Psionex. Nick and Rudy at Psionex were real helpful when I contacted them to verify that the Erikson MC 218 used the same screen cables as the Psion 5MX. I was surprised at how quickly they responded. It was late on this side of the pond so I did not expect a response from anyone until the next day but within an hour or two from submitting the contact request form, they got back to me.
Once again, David Savery had a post that was a big help. The post from 2004 is titled, Psion Series 5MX disassembly and screen cable repair.
The Psion 5MX that I received from eBay was in rough shape but I powered it on and I found that it had an issue with the screen cable, just like the Ericson. Since it was in the worst shape, I decided to disassemble it first as a practice run.
All went well and I was able to take the unit apart and replace the cable. I did find that it was easier to cut the ribbon cable to separate the touch screen controller before attempting to unsolder the cable. I thought using my hot air soldering station would be quicker but right away, I saw it melted some of the tape and other things around the screen so I just used my soldering iron. It was not too bad to remove and solder the new cable in place.
Fortunately, I was so concerned that things did not go well that I connected everything on the bench before reassembling the unit. I found that even though I measured the resistance on the touch screen connection, something was not right. The screen was spot on though so I was happy about that. It was a bit tricky but I was able to reflow the solder on the touch sensor connections and when I tested again, everything was in working order.
I started reassembling the unit and thought that the hinges seemed to be off, but I could not determine what the problem was. When it was finally all reassembled, the wire hinges popped out from under the rear cover. I then went back to Dave Savery’s page and finally saw that there were supposed to be hooks to keep them in place. I had to think of something so I used some leads from resistors that I had saved and melted them into the plastic and formed some hooks to keep the hinges in place. Hopefully that is enough to keep them in place as long as I use it. We shall see but it looks fine for now.


The repaired Psion 5MX is now my spare unit as the hinge repair job is not perfect. There is now some play in the unit so it does not close tightly. The keyboard and screen flop around by about 1/8″ (3 mm).
Below is a link to the Cables on Psionex. I’m not certain how much longer they will be in stock, but I will be reaching out to them again if I’m in need of any more. I’m including the link to the Series 5 cable as well.