Hardware
Needed
- Raspberry Pi
- MicroSD Card 4GB or larger
- USB Keyboard
- USB Power Supply and cable with micro USB Connector
- Display (Composite or HDMI)
- Display cable (Type of cable depends on monitor)
- MicroSD Card to SD Card Adapter (Needed only if your PC has a SD Card Reader but not a MicroSD Card Reader)
Nice to Have
- Raspberry Pi B+ Case (Note cases for other models may not work)
- WiFi module or Ethernet Cable
Steps
- Download the Raspbian Image from http://www.raspberrypi.org/downloads/ (As of this post, the file is 2014-06-20-wheezy-raspbian.zip)
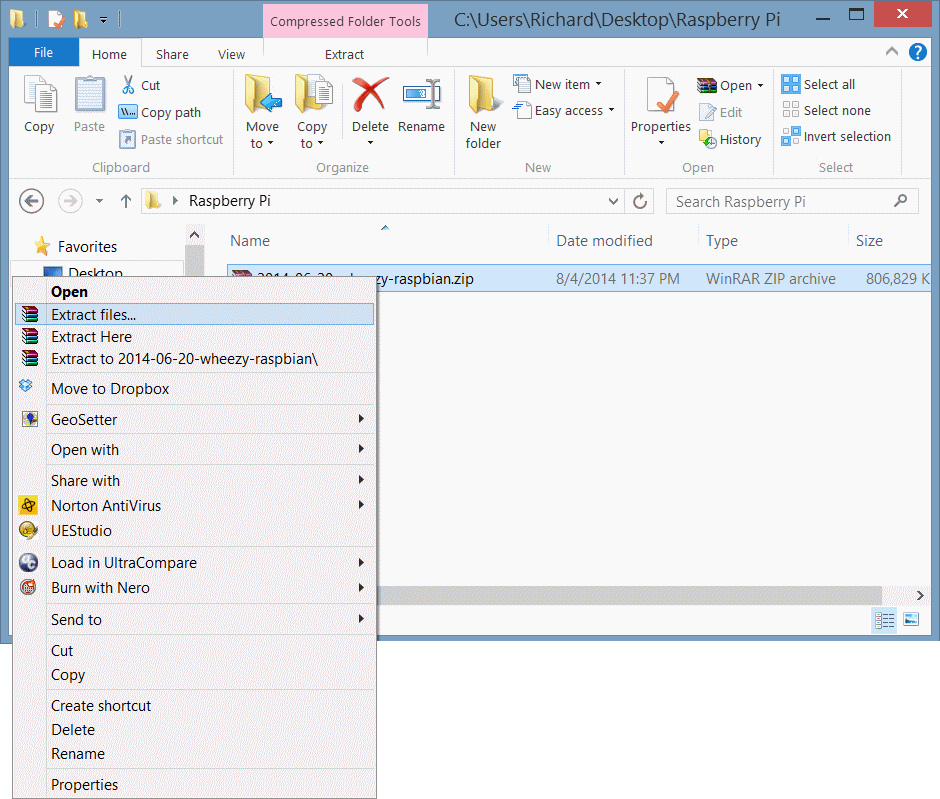
- Unzip the Raspbian Image File

- Follow the instructions at http://www.raspberrypi.org/documentation/installation/installing-images/README.md for your operating system. I will be using Windows and will mirror the steps from the installation instructions page
Windows Installation
- Insert your MicroSD card into the card reader on your PC (NOTE: You may need a MicroSD to SD Card Adapter)
- Download the Win32DiskImager utility from http://sourceforge.net/projects/win32diskimager/ (As of this post, the file is Win32DiskImager-0.9.5-install.exe)
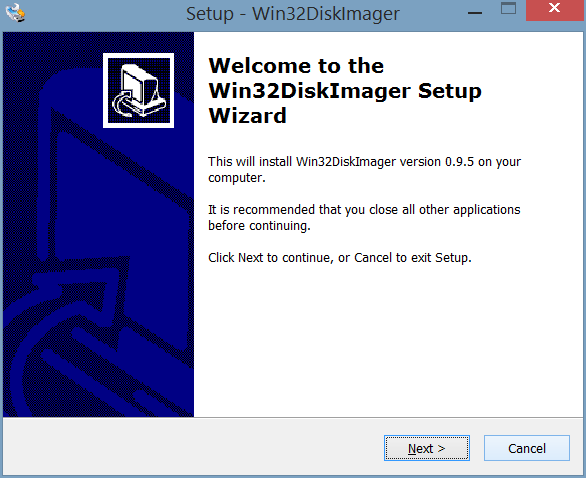
- Install the Win32DiskImager Utility by double clicking the downloaded file
- Click on the “Next >” button on the setup wizard

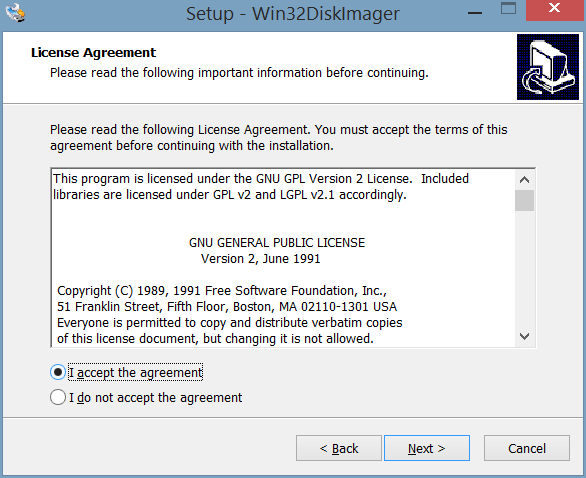
- Select the “I accept the agreement” radio button and click the “Next >” button

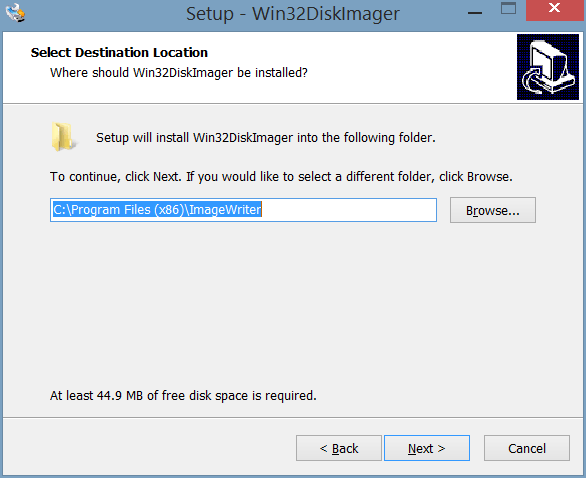
- Click the “Next >” button on the destination location dialog

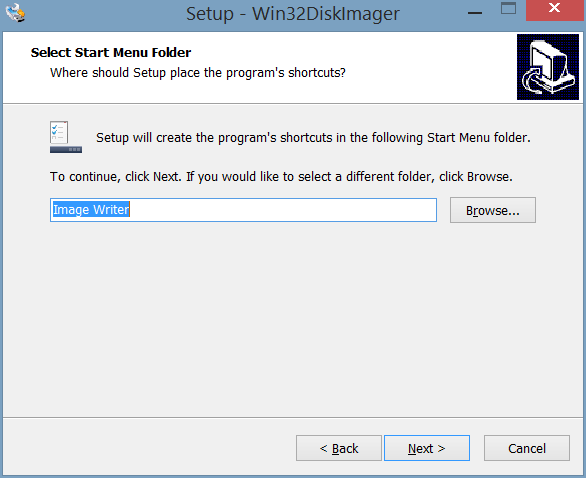
- Click the “Next >” button on the Select Start Menu Folder dialog

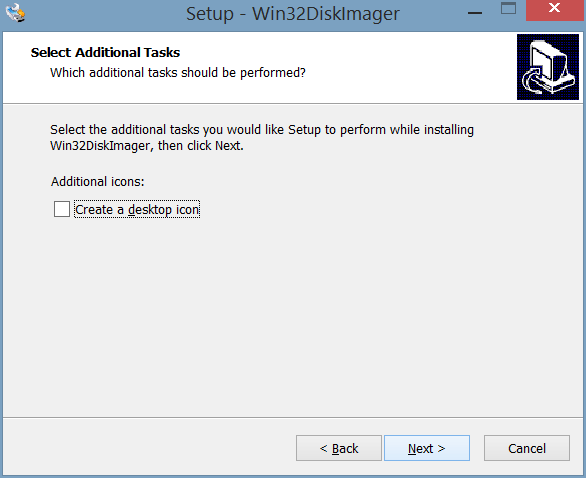
- If you do not want a desktop shortcut, uncheck the “Create a desktop icon” checkbox
- Click the “Next >” button on the Select Additional Tasks dialog

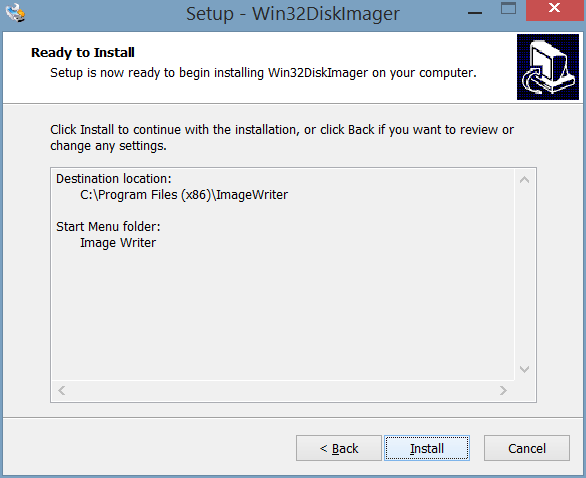
- Click the “Install” button on the Ready to Install dialog

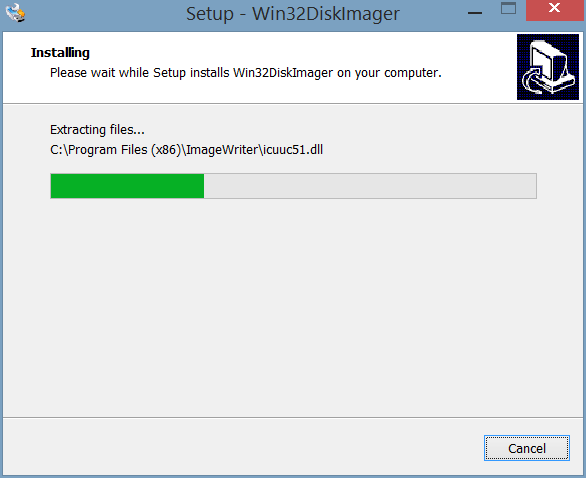
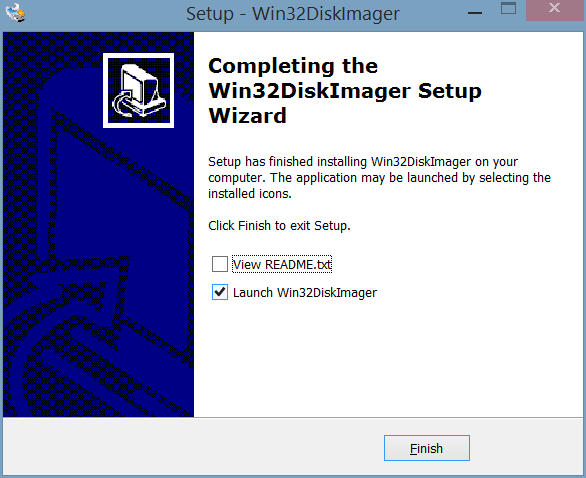
- Wait for the installation to complete

- Click the “Finish” button on the Completing the Win32DiskImager Setup Wizard dialog

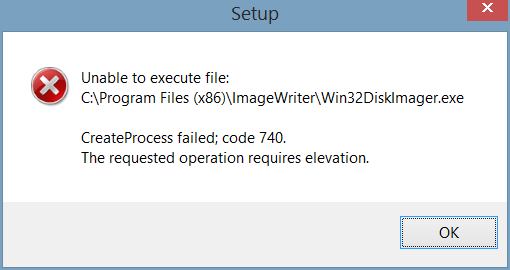
- It is possible that you may see the following error message

- If you see the error message above
- Click the “OK” button
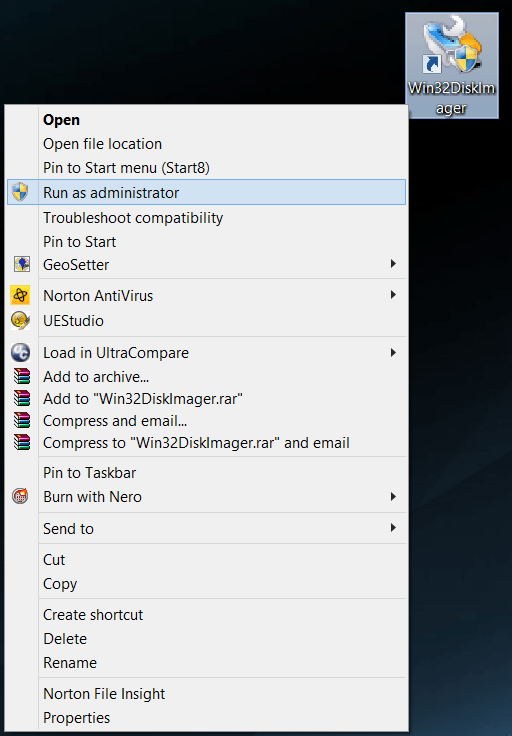
- Right-click on the desktop shortcut and select “Run as administrator” from the pop-up menu

- When the User Access Control dialog is displayed, click the “Yes” button

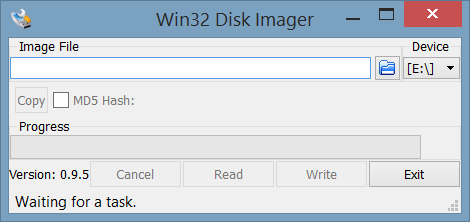
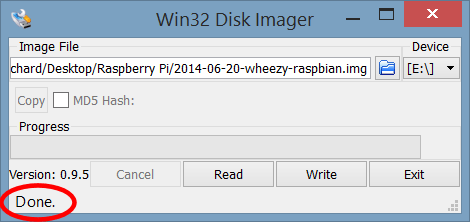
- The application is now open

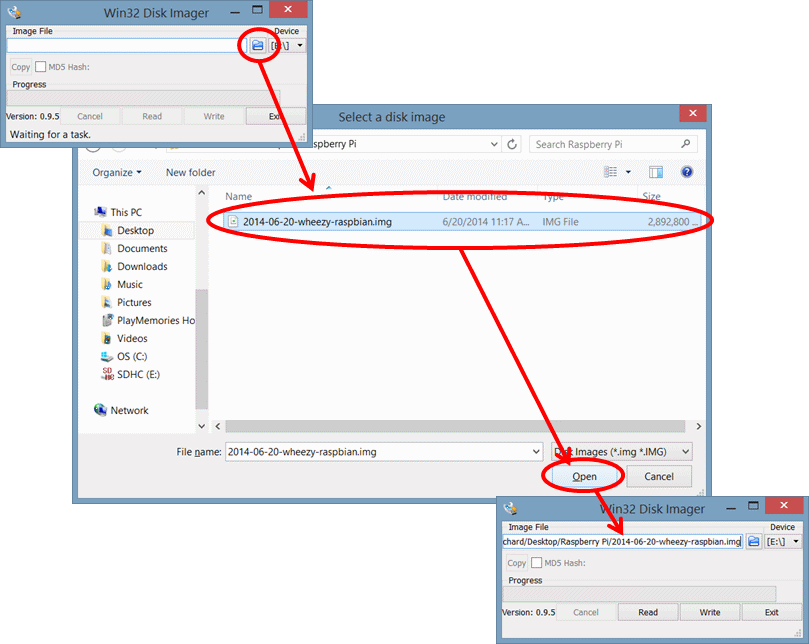
- Click the folder icon and select the Raspbian image file downloaded earlier

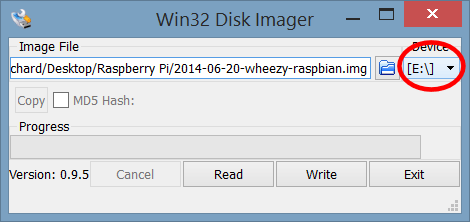
- Select the drive letter for your MicroSD Card
WARNING: Be very careful to select the correct drive letter as the utility will erase all data on the drive! You have been warned!

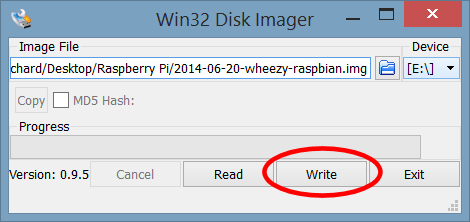
- Click the “Write” button

- Click the “Yes” button on the confirmation dialog

If you see the following error (), check that there are no open Explorer Windows or other applications attempting to access the SD Card

If you see the following error, check the write lock switch on the MicroSD Card Adapter


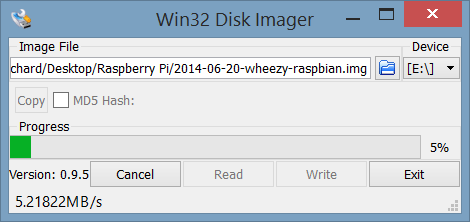
Wait for the process to complete

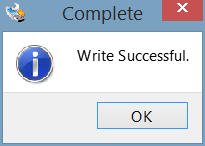
- When the process is complete, click the “OK” button

- The main window will display the status as “Done.” Click the “Exit” button to exit the utility

- Eject the MicroSD Card


Once the Raspbian Image has been written to the MicroSD Card, you are ready to boot and configure the Operating System (OS).
Booting and Configuring the Raspberry Pi using Raspbian OS
- Insert the MicroSD Card in the Raspberry Pi
- Connect the monitor, keyboard, mouse (optional), and power
- The Raspberry Pi Software Configuration Tool (raspi-config) will launch