After looking at the stability issue with MediaMTX, Raspberry Pi Camera Module with Raspberry Pi Zero 2 W, and Blue Iris, I have uncovered what looks like a simple fix.
I was doing some searching on my issue with the Pi Cameras and found a post with the rpiCameraBitrate set to 1,500,000 rather than 5,000,000, which is the default value. Instead of editing the rpiCameraBitrate value on line 591 of the mediamtx.yml file, I added a new line in the paths > cam block at the end of the file. The end of my mediamtx.yml file now looks like the following.
paths:
  # example:
  # my_camera:
  #   source: rtsp://my_camera

  # Settings under path "all_others" are applied to all paths that
  # do not match another entry.
  cam:
    source: rpiCamera
    rpiCameraWidth: 1280
    rpiCameraHeight: 720
    rpiCameraFPS: 15
    rpiCameraBitrate: 1000000
  all_others:
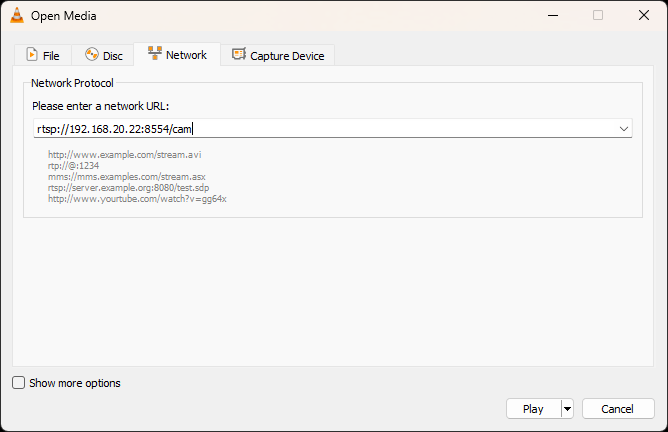
Run the following command to edit the mediamtx.yml file.nano /home/pi/mediamtx/mediamtx.yml
My cameras have been stable now for several weeks.
I did want to show the light sensitivity difference with the Raspberry Pi Cameral Module v3 and ESP32-CAM modules. The top row in the screen capture shows the Raspberry Pi cameras and the bottom row shows the ESP32-CAM modules. The scenes are the same top to bottom.


You must be logged in to post a comment.